How To Start A PayPal Business Account (Step By Step)

complete step-by-step guide on how to start a PayPal Business Account, from scratch, tailored for anyone including Zimbabwe users:
Step 1: Decide Your Account Type
PayPal has two main accounts:
-
Personal Account – for sending/receiving small amounts or shopping online.
-
Business Account – for selling products/services, accepting customer payments, and accessing business tools.
For businesses or freelancers, choose Business Account.
Official link: PayPal Business Signup
Step 2: Begin Registration
-
Go to PayPal Zimbabwe.
-
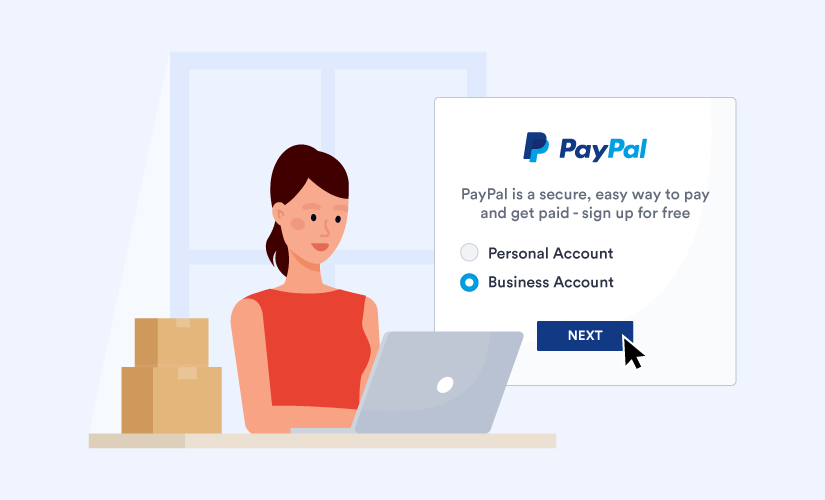
Click Sign Up → Select Business Account → Click Next.
Step 3: Provide Your Email
-
Enter a professional business email (e.g., yourname@yourcompany.com).
-
Make sure you can access it immediately for verification.
Step 4: Enter Business Details
-
Business Type: Choose Sole Proprietor, Company, or Nonprofit.
-
Business Name: Use your registered business name.
-
Business Address: Your official business location.
-
Business Phone Number: For verification.
Step 5: Fill in Personal Details
-
Full legal name of the account owner.
-
Date of birth.
-
Government-issued ID (Passport or National ID).
-
Proof of address (utility bill, bank statement).
Step 6: Create a Strong Password
-
Minimum 8 characters.
-
Must include uppercase, lowercase, number, and special character.
Step 7: Agree to Terms & Conditions
-
Read and accept PayPal’s User Agreement and Privacy Policy.
-
Check boxes and click Agree and Continue.
Step 8: Confirm Your Email
-
PayPal will send a verification email.
-
Click the link to confirm your email and continue account setup.
Step 9: Link Bank Account or Card (Optional at First)
-
You can link your Zimbabwean bank account or debit/credit card.
-
Linking helps verify your account and may allow withdrawals (depending on country restrictions).
Note for Zimbabwe: Receiving and withdrawing international funds directly may be limited. Many Zimbabwean businesses use Payoneer or Wise to receive PayPal payments safely.
Step 10: Complete Identity Verification
-
Upload required documents when prompted:
-
Government-issued ID
-
Proof of address
-
Business registration certificate (if registered)
-
-
Clear scans/photos improve approval speed.
Step 11: Start Using Your PayPal Business Account
-
Accept payments via PayPal buttons, invoices, or checkout links.
-
Monitor transactions and manage your funds via the dashboard.
Step 12: Optional – Integrate with International Receiving Accounts
-
If PayPal withdrawal is restricted in Zimbabwe, connect your Payoneer or Wise account to receive funds.
-
This ensures you can access international payments safely.
Tips
-
Use real and verifiable information — fake details risk account limitations.
-
Keep your account verified with updated documents.
-
Use business email separate from personal email for security and professional appearance.
Useful Links
I can also make a visual step-by-step tutorial with screenshots showing exactly what to click and fill for Zimbabwe users, including Payoneer/Wise integration to actually receive payments.


